What if you’re dying to go “camping”? Here’s the ultimate beginner’s lazy guide you must check out.
Photos & Text /Just Like That. Simple Fun
According to media surveys in 2015, the number of people getting into camping reached 2 million, with an annual market potential exceeding 200 million. And these numbers have been climbing month by month. In recent years, Angela has also fallen for camping.
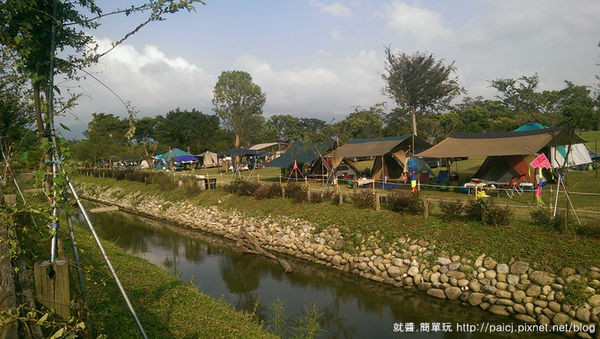
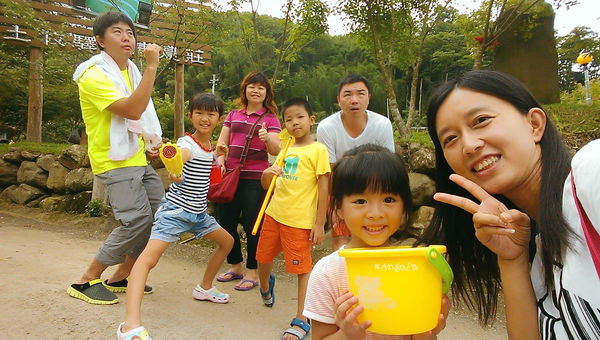
After taking the non-return trip into camping, family and friends gradually joined in too. One day, while chatting with my sister about my Pixnet blog, she actually asked me to write a “beginner’s camping lazy guide.” As someone who usually writes about camping life, I never thought about how to organize such a guide. But for my own sister, I went all out!! Based on my experience from 34 camping trips, I wrote it word by word with great care.
Angela: Shuang, your “beginner’s camping lazy guide” is done.
This is a small personal experience share for those who want to try camping for the first time but don’t know where to start. I hope veteran campers can give me some pointers too—after all, I’m still a newbie myself.

Let’s follow the steps to see how we recommend beginners get started with camping.
Step 1: Determine the Number and Ages of Campers in Your Family
If there are children or elderly among the campers, the way you camp may change slightly. It will also affect the size of the tent you choose to buy or rent.
Step 2: Choose a “Sleeping Tent” Setup
1. Tent:
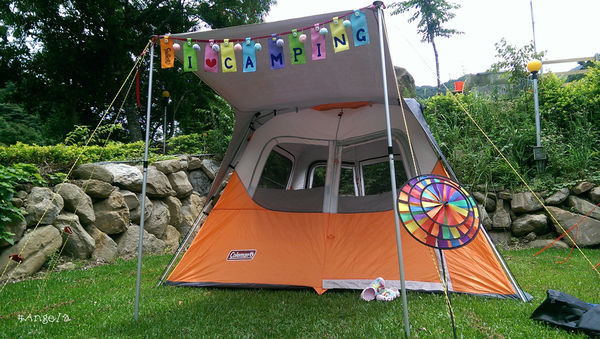
No tent is absolutely perfect!! Only the one that suits your actual situation and needs is the best. When buying a tent, the stated capacity—like for 4 people—is generally suitable for 2, or if it says 6 people, around 4 is more comfortable. Otherwise, you won’t be able to turn over at night and will wake up sore. For your first camping trip, you can borrow a tent from friends or rent one from a gear shop. After using it, clarify your needs before buying.
2. Ground Cloth:
Lay it on the grass before pitching the tent to protect the tent base, prevent dirt and damage, and block moisture and cold from the ground.
3. Moisture-proof Mat:
Place it inside the tent as insulation between your body and the ground, helping block heat transfer and preventing moisture and cold from seeping through the fabric at night and affecting sleep. Reflective foil mats are most common, but many use waterproof mats or even play mats, and some even use cardboard boxes.
4. Sleeping Mat:
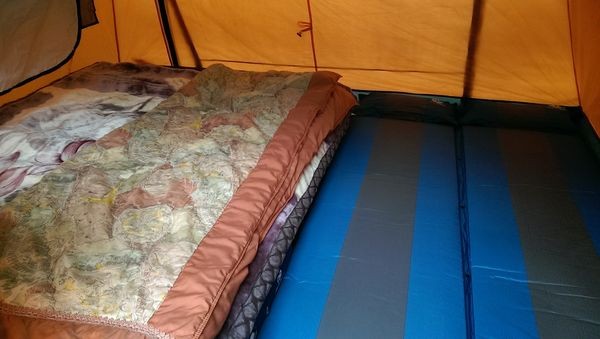
Place it on top of the moisture-proof mat. The sleeping mat adds comfort, making your camping site feel more like home. In winter, it offers better warmth, especially important for those with high sleep quality standards on rocky ground. There are many types on the market, but basically, it should be thick enough to ensure comfort (personally, I think at least 10 cm thick). Beginners might try using a thick quilt from home before buying.

5. Tarp:
Can be set up above the sleeping tent to provide effective shelter and rain protection. It can also be used alone on open ground for cooking or as a play area for kids.
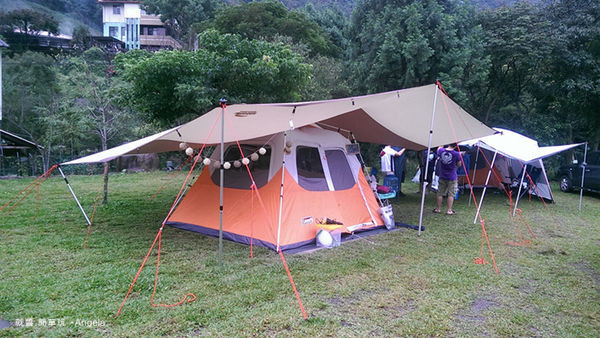
Step 3: Choose Equipment for Inside the “Cooking Tent”
First, let’s clarify: when starting out with camping, the main preparation is the tent. Whether to buy a cooking tent can wait—you can camp with friends and share, or find campsites that offer cooking areas, or simply cook outside the tent with a table and chair when the weather’s nice. Still, here’s a standard intro:
1. Cooking Tent (Living Tent):
A typical cooking tent is about 300*300 cm. Some come with integrated side walls, while others require you to buy side walls separately. A cooking tent can generally serve as a space for resting, cooking, and playing. In winter, lower the side walls, light a heater, and stay warm and windproof. In summer, roll up the side walls, leaving only mesh for ventilation and mosquito protection. If you have a tarp, it can also replace this kind of space.


2. Table / Chairs:
The currently popular table style is the egg-chair table, with adjustable legs and easy storage. Everyone has chairs at home—the key is to pick ones that don’t take up much space when folded. Otherwise, just a few chairs can fill up your entire trunk. Having a table for cooking and dining can definitely improve the quality of your camping life. But cooking on a rock and dining on the ground also has a certain charm. Some thoughtful campsites even provide tables and chairs, saving you from bringing too much gear on your first trip.


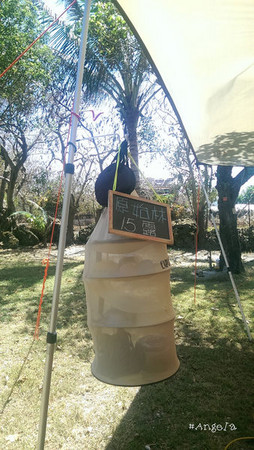
3. Drying Rack Basket:
Its main function is to hold cooking utensils and tableware, keeping out mosquitoes and flies.
4. Cooking Equipment:
A portable gas stove, a soup pot, a small frying pan, and some bowls and chopsticks are all you need to cook delicious meals outdoors. Alternatively, if you're too lazy to bring pots and pans, buying some frozen food and heating it up at the campsite is also a great idea.

5. Salad Spinner:
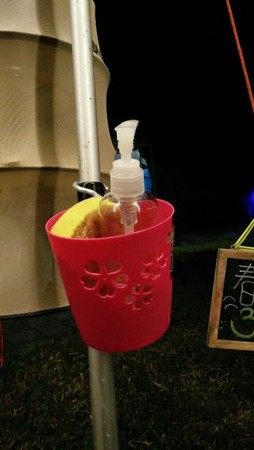
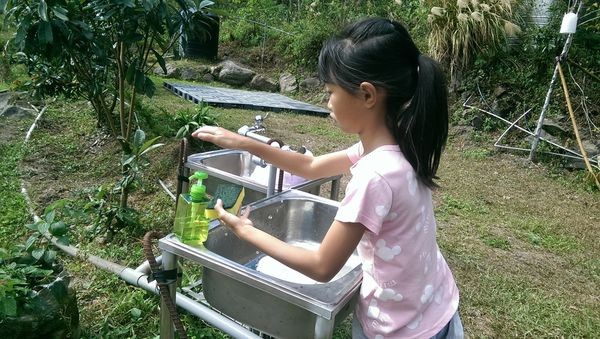
For those who want to experience campsite cooking, this often-overlooked but important item comes in handy—when greasy dishes can't be washed after a meal, you’ll have no choice but to pack them up and take them home!
Step Four: Selecting Other Important Equipment
1. Sleeping Bag / Quilt:
Sleeping bags for summer and winter are different. If you bring a summer sleeping bag for winter camping, adding a small blanket inside can significantly boost warmth. Generally, bringing a sleeping bag takes up less space, but some campers prefer to bring their own quilts. At first, Angela’s family also used to bring quilts (which can be vacuum-packed), but as they accumulated more gear, they switched to more space-efficient sleeping bags.


2. RV Bucket (Moonlight Treasure Box):
Both I and my friends usually get two—one for kitchen utensils and one for small tools. The advantage of an RV bucket is that besides storage, it can also double as a chair, a bathing bucket, etc. Almost every camping family has one.

3. Tent Stakes and Ropes:
These are almost always included when you buy a tent, but our family always likes to bring extra stakes and ropes. Sometimes they come in handy due to site conditions. The extra ropes can also serve as temporary clotheslines!
4. Lighting Tools:
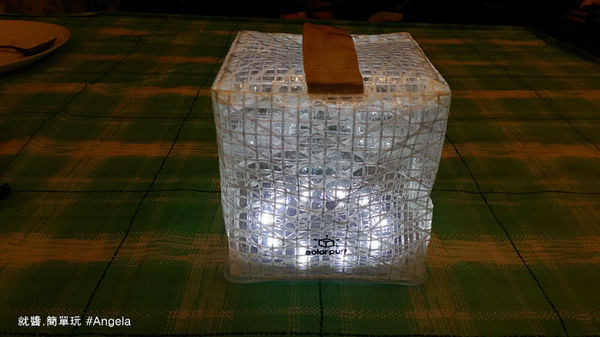
Light strips, camping lanterns, hanging LED lights, flashlights... all are useful lighting tools for camping. Without them, you’ll be cooking, eating, and sleeping in the dark. When you’re just starting out with camping, having a simple lighting tool can make you feel much safer at night. You can gradually add more later.

Step Five: Preparing Campsite Toiletries and Medical Supplies
1. Basic Clothing:
Dress in comfortable and relaxed clothing. Since temperatures can vary greatly between morning and evening outdoors, it's recommended to dress in layers (like onions)—don’t come back from camping with a cold as a “souvenir.”
2. Bathroom Essentials:
Divide your toiletries into small plastic bottles and label them (or use differently colored containers for distinction). Some campsites also provide toiletries, which saves you the hassle of carrying them. Additionally, two-in-one shampoo and body wash products are very convenient.

3. Waterproof Slippers or Sandals / Sneakers:
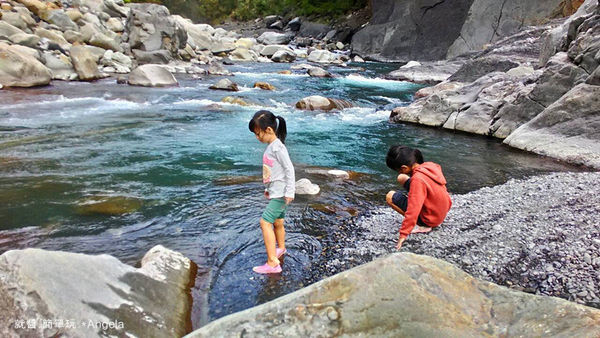
Campgrounds aren’t like the flat ground at home—you might encounter grassy areas, gravel, slopes, etc. Wearing sneakers makes it easier to run around and reduces the risk of foot injuries. It’s also important to bring an extra pair of waterproof slippers or sandals—they come in handy for showering, going to the toilet at night, playing in the water, or dealing with rain.
4. Basic First Aid Kit:
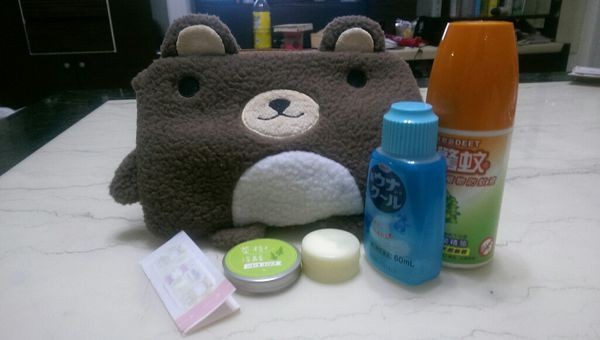
When enjoying outdoor activities, personal safety is crucial. It’s best to carry simple items like band-aids, ointment, mosquito repellent, sunscreen, and cooling gel (for sunburn). This is especially important when traveling with children—these items are not optional.
Step Six: Choosing a Campsite
1. Where to Find a Campsite? How to Learn About It?:
Currently, the most commonly used website to search for campsites is the Camping Wo website. You can also join various camping-related Facebook groups to learn about others’ camping experiences or refer to bloggers’ shared posts. No matter where you get your information, doing your homework before departure will make your camping trip go more smoothly.
2. What Kind of Campsite is Suitable for Family Camping?:
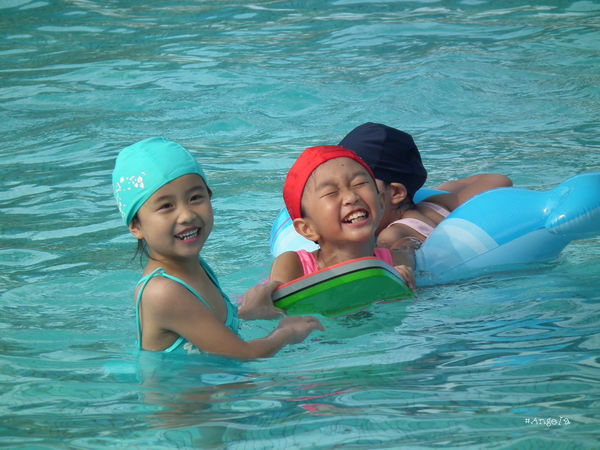
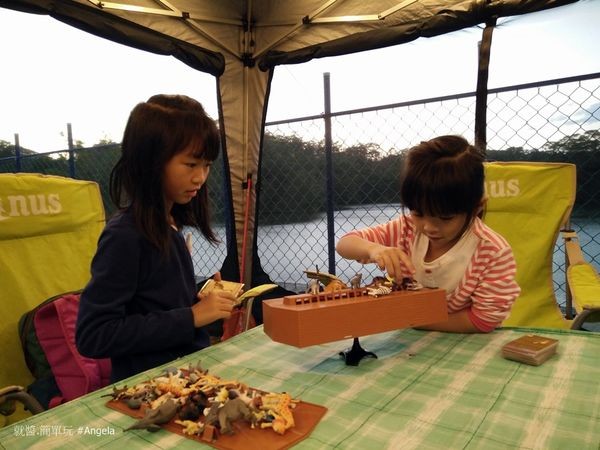
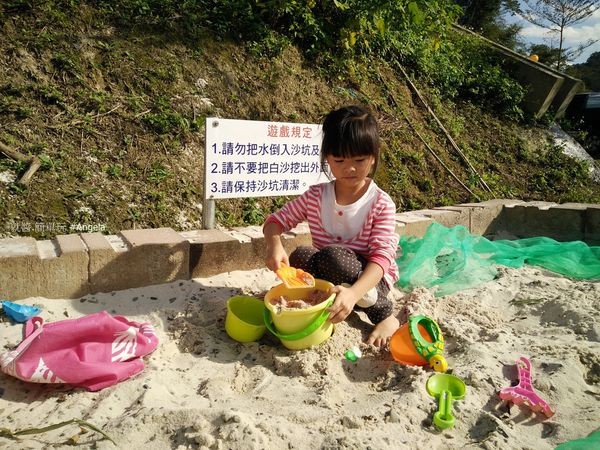
As mentioned in the first step, first determine your camping group size and ages. For family camping, a campsite with a sandbox, water pool, slide, or nearby stream can help children fall in love with the activity. If you can’t find one, bringing along board games can also ensure kids enjoy the camping trip.
3. What Kind of Campsite is Suitable for Elderly Campers?:
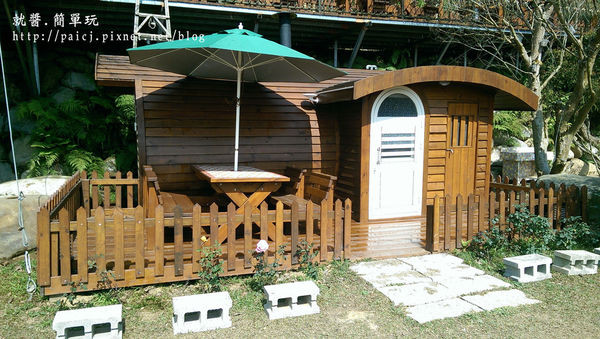
If you’re camping with elderly individuals who are not comfortable sleeping in tents, consider campsites that offer guesthouses or cabins. This way, everyone can look out for each other, allowing seniors to enjoy family time in nature with ease.
4. Want to See Sea of Clouds, Flowers, or Play in Water? Which Campsite to Choose?
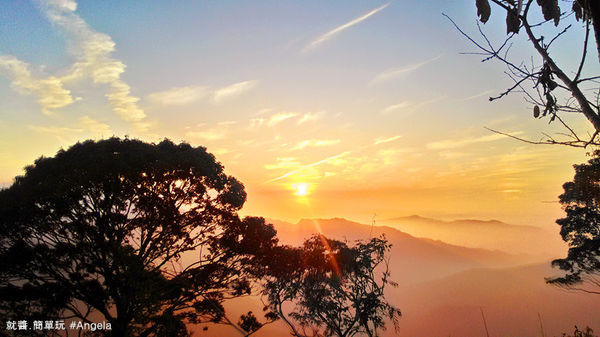
Many people dream of seeing beautiful sea of clouds, but sea of clouds mostly appear at high altitudes and depend on weather humidity. For beginners just starting out, it's recommended to opt for low-altitude campsites with complete facilities first, then gradually increase the altitude. This way, you won't miss out on a second camping trip. Viewing flowers or autumn foliage depends on the season—you need the right time of year and fully bloomed blossoms to enjoy the beautiful scenery. Many campsites are located by streams, but be sure to pay attention to water safety and conditions upstream to ensure a worry-free experience catching shrimp and fish.

Angela’s Little Reminder
1. Camping is not the same as staying in a hotel. When you step into the world of camping, be prepared to face all kinds of conditions. For Angela, it’s often about going with the flow—when your mindset is right, the camping life falls into place, and complaints naturally decrease.
2. For those just starting to camp, it’s best to begin with rented gear or simple equipment. Through each camping trip and sharing experiences with fellow campers, you can figure out what items you truly need before buying more gear—this helps avoid stocking up on too much unsuitable equipment.
3. Many find packing and organizing gear for each camping trip to be a hassle, but if you keep your camping gear separate from household items and store them in fixed, designated spots, it can greatly simplify both pre-trip preparation and post-trip cleanup. (Don’t mix them up!)
4. When you’re just starting out, you can choose to go with a few experienced campers or join a group camping trip—it’ll help you get the hang of it quickly.

Share
This article is published by HowToTrip. Sharing and reposting are welcome — please credit the source.
Article URL: https://www.howtotrip.net/views-8255
Related Articles
- Shaoxing's "Grandpa Gourd" hangs the gourds back up: "If there are too many people, we'll interact less — just take a quick look from afar"
- Chinese authorities announce "reciprocal adjustment" to Japan visa fees — single-entry visa jumps from 2,250 to 16,750 yen!
- The "health stones" carried by a traveler were found to have radiation levels exceeding safety limits by a thousand times, potentially endangering fellow passengers on the same flight. Customs issues warning!
- Shenzhen Airport Issues Late-Night Notice: Unidentified Aerial Object Detected, Causing Widespread Flight Delays!
- “They only said it cost money after I opened the box and washed it!” 200g of grapes sold for 60 yuan on a high-speed train—12306 responds!
- Can't buy an airline ticket? Denied exit? Blocked from boarding? A large number of Chinese tourists have mysteriously become "discredited individuals"
- Adverse weather and economic fluctuations impact Colombia's coffee market
- Beach bathing area responds to 2 yuan/30 seconds fee for freshwater foot rinsing: Clearly priced!
- Taking off with an improperly closed cabin door? Wing malfunction? Multiple flights made emergency returns mid-journey!
- Experience the gifts of nature! A countdown of the world’s ten most stunning coastlines