Learn "Four-Strand Braiding" in One Go at the "Janana Tribe"
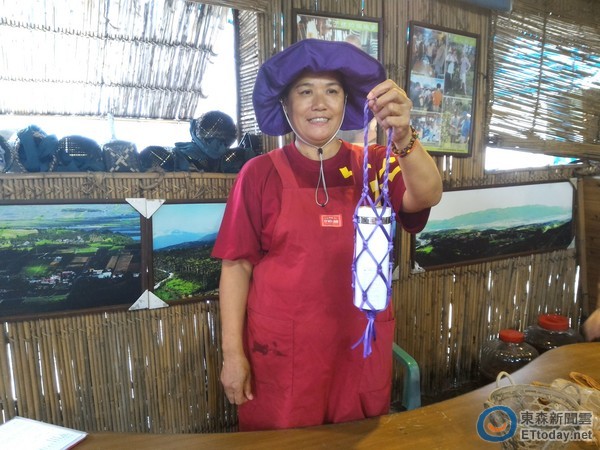
▲ A water bottle bag was used as an example on-site. (Photo / Reporter Yan Xintong)
ReporterYan Xintong/ Interview & Report
The moms of the "Janana Tribe" are skilled in weaving the "four-strand braid," one of the local specialties. The four-strand braid has many uses, most commonly to weave bags that can hold water bottles, fruits, and other heavy items. The interwoven strands are very sturdy, making it durable for carrying loads. It's a highly practical braiding method. Besides storing items, itis also very suitable for girls’ braided hairstyles—making it truly multi-purpose!
In the video, a water bottle bag is used as an example. After folding the four-strand braid in half, you get four strands, with each individual strand called a "strand." Here, the four-strand braiding technique is used to create the handle. Using the fold point as the base, braid about 5 cm on both the left and right sides, then secure with two snake knots. After that, tie each strand to its neighboring strand with a snake knot to form a net-like shape. Finally, tie a regular knot at the bottom to complete it.
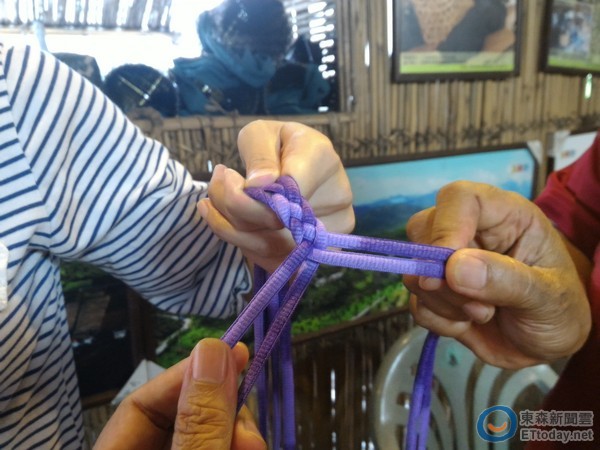
▲ Close-up of the four-strand braid. (Photo / Reporter Yan Xintong)
Four-Strand Braiding Tutorial
1. First, prepare two ropes, fold them in half to the same length, and secure the fold point. You can ask someone else to pinch the fold point for you.
2. Once folded, each half consists of four strands. Number the strands from left to right as 1, 2, 3, and 4. Place strand 2 over strand 3 to cross them, then place the leftmost strand 1 over strand 3, and finally place the rightmost strand 4 over strand 2, continuing this pattern.
Snake Knot Tutorial
After completing the four-strand braid, you’ll need to tie a "snake knot" to secure it. Remember the rhyme: “1 around 2, 2 around 1,” and you’re all set.
1. Overlap the two strands, with the one at the bottom called 1 and the one overlapping on top called 2. Then do 1 around 2, and 2 around 1.
2. When 2 goes around to the bottom, it must loop over 1 to create the snake knot.
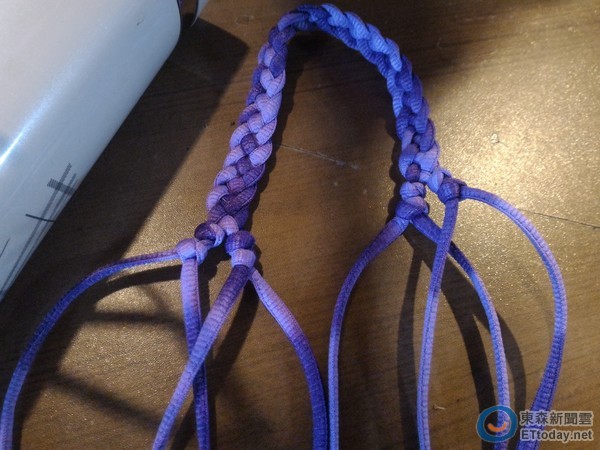
▲ A completed snake knot. (Photo / Reporter Yan Xintong)
Feeling confused? You can refer to the video below.
▲ Four-Strand Braiding Tutorial (Video / Reporter Yan Xintong)
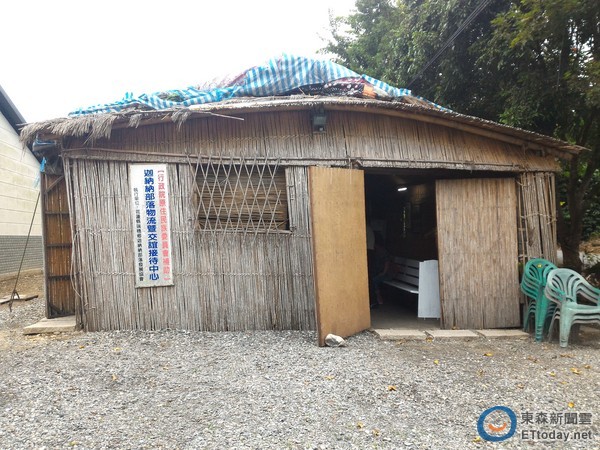
▲ The architecture of the Janana Tribe Welcome Center features strong local characteristics. (Photo / Reporter Yan Xintong)
The Janana Tribe also offers experiential activities. Visiting Ruisui allows you to enjoy a different kind of trip—experience indigenous culture and try your hand at crafting the soothing four-strand braid.
Share
This article is published by HowToTrip. Sharing and reposting are welcome — please credit the source.
Article URL: https://www.howtotrip.net/views-10103
Related Articles
- Shaoxing's "Grandpa Gourd" hangs the gourds back up: "If there are too many people, we'll interact less — just take a quick look from afar"
- Chinese authorities announce "reciprocal adjustment" to Japan visa fees — single-entry visa jumps from 2,250 to 16,750 yen!
- 旅客携带的“保健石”核辐射超标千倍,同机人员或遭殃!海关提醒!
- 深圳机场深夜通报!出现不明升空物,航班大面积延误!
- “拆盒洗了才说要钱!”高铁200克葡萄卖60元,12306回应!
- 买不了机票?出境被拒?登机被拦?一大波中国游客莫名成了“失信人”
- 不利天气和经济波动影响哥伦比亚咖啡市场
- 海边浴场回应冲脚淡水收费2元/30秒:明码标价!
- 舱门没关好就起飞?机翼出现问题?多个航班途中紧急折返!
- 感受大自然的馈赠!盘点世界十大唯美海岸线